Sourdough Starter 101: A Gentle Guide for First-Timers
If you’ve ever whispered, “I want to try sourdough but it’s probably too hard,”—I get it.
The first time I heard someone talk about feeding their sourdough starter twice a day and figuring out what to do with discard, I thought: Nope. I don’t need one more thing to babysit.
But here’s the truth I’ve learned: a sourdough starter is just flour and water—and a little bit of faith.
And you can do this.
Parts of this post were drafted with the help of AI, then reviewed, updated, and edited by me to reflect my personal experience and voice. I always aim to share real-life content that’s helpful, honest, and rooted in my day-to-day rhythms.
This post contains affiliate links. That means I may earn a small commission (at no extra cost to you) if you choose to purchase through my links. I only share products I use and love in my own home.
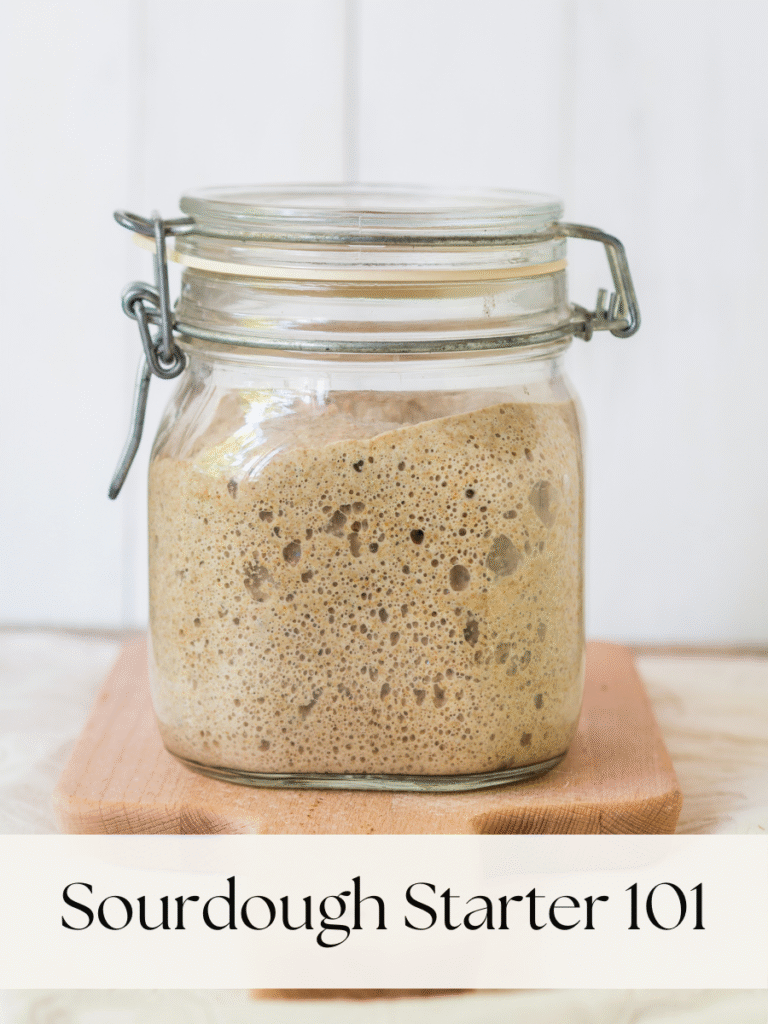
What Is a Sourdough Starter?
In simple terms?
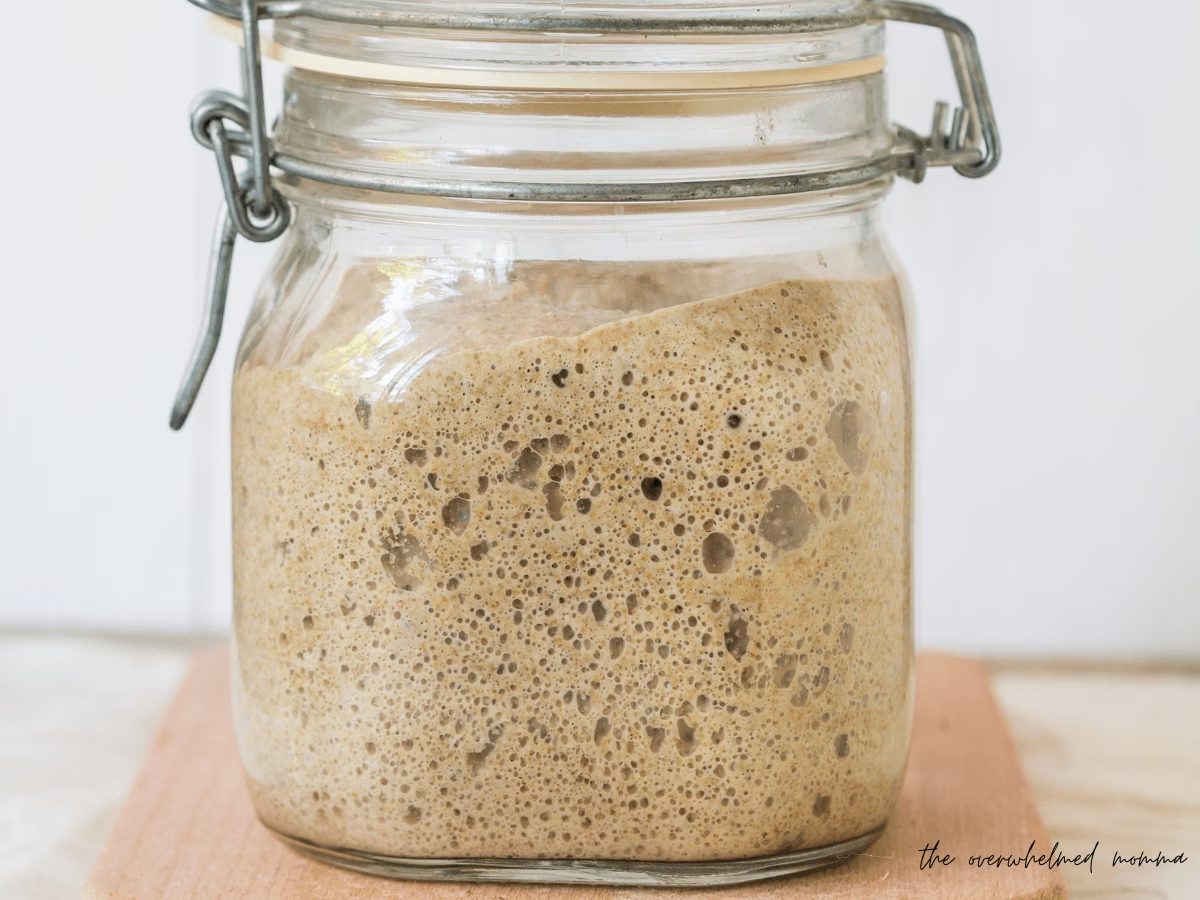
It’s just flour + water + time.
When those two ingredients sit together, they naturally begin to ferment—building a bubbly little culture that will eventually help your bread rise without commercial yeast.
You don’t need a science degree or a spotless kitchen. You just need a jar, a spoon, and a few minutes of patience.
What You Actually Need
Here’s what I use:
- A Sourdough Starter (I suggest buying a dried one or getting an established one from a friend)
- A clean glass jar or bowl
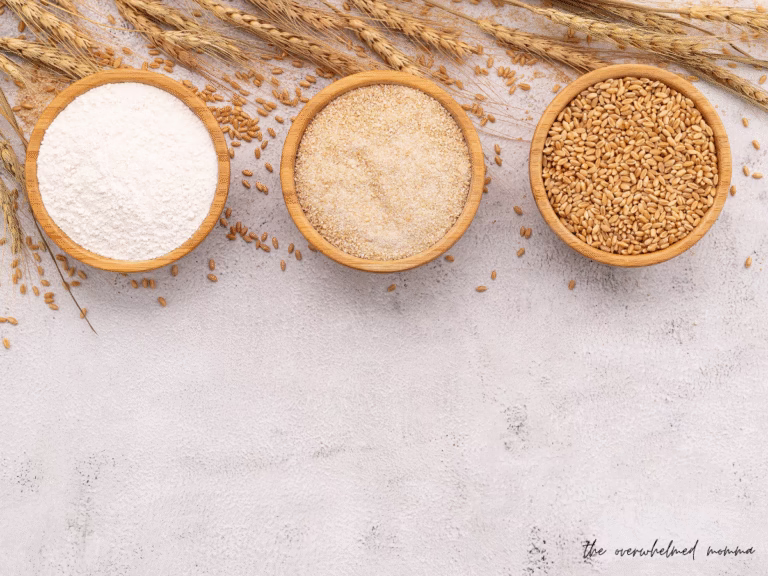
- Whole wheat or all-purpose flour (I use fresh milled hard white wheat)
- Filtered or non-chlorinated water
- A wooden spoon or Danish dough whisk
- A loose lid or cloth to cover
You don’t need fancy tools to get started. Just something you feel comfortable using in your everyday kitchen.
My Real-Life Method (With Grace + Fresh Milled Flour)
I keep my starter in the fridge until I’m ready to bake. No daily feeding. No pressure.
When I want to make something, I pull the starter out, feed it with equal parts flour and water, and leave it on the counter. Depending on the temperature in our home, it usually takes a few hours to get bubbly.
If I’m planning ahead, I try to feed it at night so it’s ready by morning.
Sometimes it needs a little extra love to wake up. When that happens, I just discard half and feed it again. No drama. No guilt. Just another step in the process.
For the Mom Who’s Never Baked Before
Here’s what I want you to know:
You don’t have to get it “right” the first time.
You don’t even have to know what you’re doing.
I didn’t.
I just decided one day that I was going to try. And that was enough.
Even now, I feel like I “fail” every other time. But I’ve learned that bread doesn’t have to look perfect to be nourishing and delicious.
Start small. Take it slow. It’s okay to be a beginner.
Troubleshooting with Peace
- “It’s not bubbling!” → Let it sit longer, especially if your house is cool. Feed it again and give it grace.
- “It smells weird.” → Tangy is normal. Mold isn’t. If you see pink or fuzzy spots, start fresh.
- “It looks separated.” → Stir and feed. That’s just hooch (liquid) on top—totally normal.
Most importantly: don’t panic. Just feed it, cover it loosely, and try again tomorrow.
Want Help Keeping It All Straight?
Download my free Simple Sourdough Start Checklist
It’s the gentle, step-by-step guide I wish I had when I first started—with everything you need and nothing you don’t.
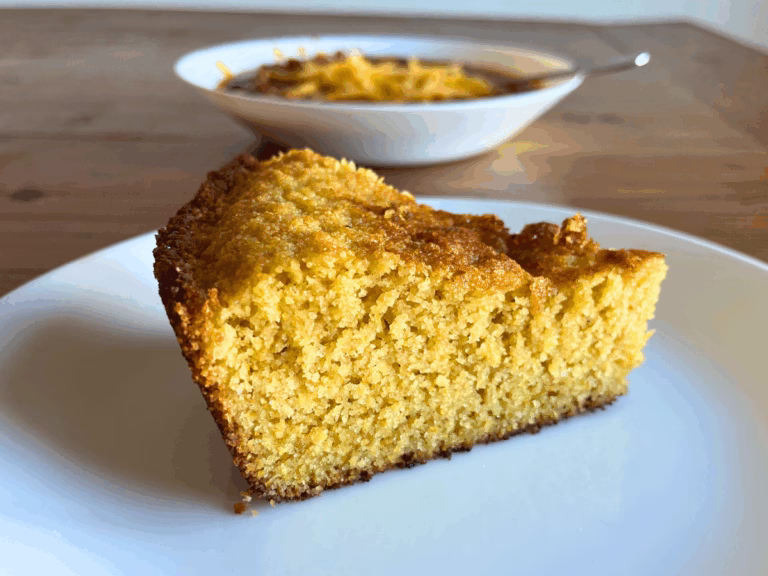
Ready for Your First Loaf?
When your starter is bubbly and active, you’re ready to bake!
Try my simple Beginner Sourdough Recipe—no stress, just step-by-step support.
You’re allowed to be a beginner.
You don’t need a perfect loaf to bless your home.
You just need a little flour and a little faith.
You’ve got this, Momma.
With love,
Dana