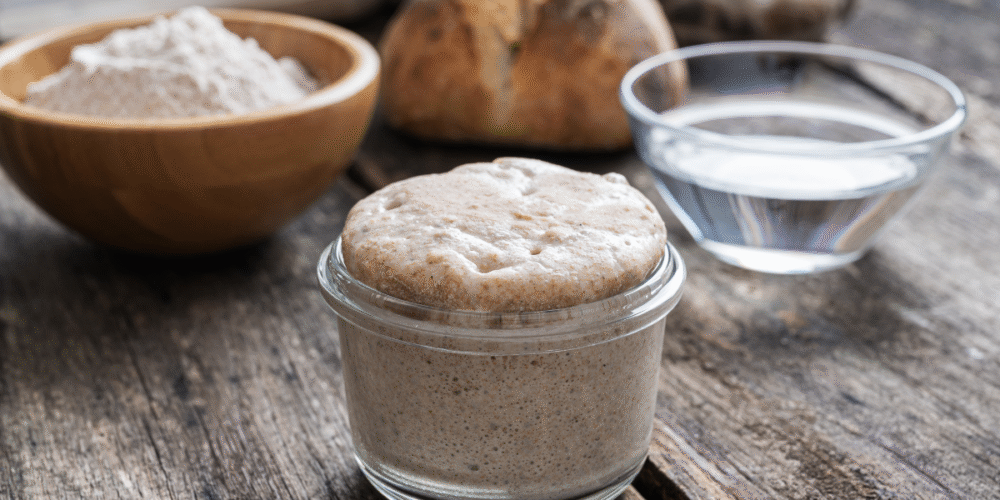
If you’ve ever stared at your bubbly sourdough starter and thought, “Can I really feed this with freshly milled flour?”—you’re not alone. I had that exact question when I first started baking with fresh flour.
And truthfully? I was nervous. Freshly milled flour is different. It’s full of life, full of nutrients, and full of quirks. But once I figured out how to gently transition my starter, I never looked back.
Here’s how I made the switch—without starting from scratch or losing my starter in the process.
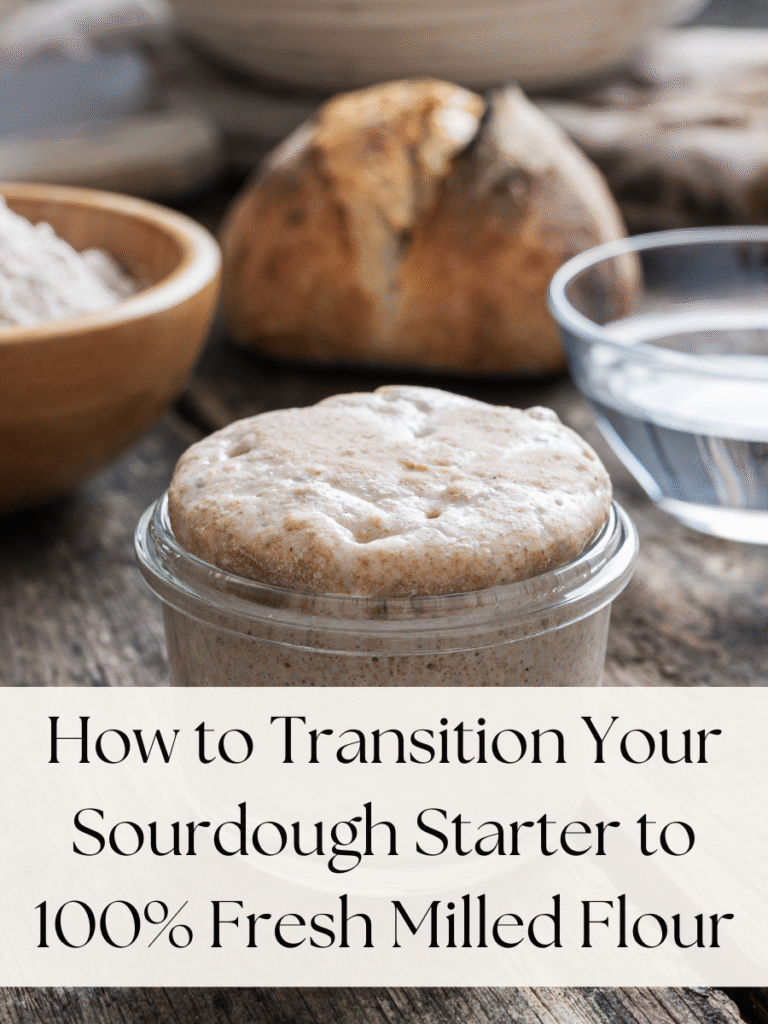
This post is all about fresh milled flour sourdough starter.
Parts of this post were drafted with the help of AI, then reviewed, updated, and edited by me to reflect my personal experience and voice. I always aim to share real-life content that’s helpful, honest, and rooted in my day-to-day rhythms.
This post contains affiliate links. That means I may earn a small commission (at no extra cost to you) if you choose to purchase through my links. I only share products I use and love in my own home.
Why Transition at All?
Fresh milled flour is rich in natural oils, enzymes, and bran—everything that store-bought flour has been stripped of. When you feed your starter with fresh flour, it responds in beautiful ways: deeper flavor, stronger rise, and a more active ferment.
But it also behaves differently.
That’s why it’s worth giving your starter a little grace during this transition. What you’re gaining in flavor and nutrition comes with a learning curve—but it’s completely doable.
What’s So Different About Fresh Milled Flour?
When you use fresh milled flour, you’re working with the entire grain: the bran, germ, and endosperm. That bran can make your starter rise more slowly at first, but in my experience, the rise actually lasts longer. And the flavor? Deeper and richer than anything I ever got with store-bought flour.
This change can be a little shocking to a starter that’s used to more refined, predictable flour. But with a gentle transition—or even a direct switch, like I did—it can absolutely thrive.
What Grains I Use
In my kitchen, I only use a mix of hard white wheat and kamut for both feeding my starter and baking. It’s simple, dependable, and produces a beautiful starter with a soft, slightly sweet flavor profile.
I’ve found that sticking with the same flour throughout the process—feeding, baking, everything—keeps things simple and consistent. Especially when you’ve got little ones underfoot and don’t want to juggle multiple bags of grain.
I get my wheat berries from Azure Standard.
Step-by-Step: How to Transition Your Starter to Fresh Milled Flour
1. Start Small (25% at a Time)
If you’re feeling cautious, begin by replacing just 25% of your usual flour with fresh milled.
- Example: If you normally use 100g flour, try 75g all-purpose and 25g fresh milled.
Let your starter adjust for a few days. If it’s still rising and smelling pleasant, bump it up to 50%, then 75%, and eventually 100%.
2. Or… Dive Right In
I’ll be honest—I didn’t do the gradual method. One day, I just started feeding my starter with 100% fresh milled flour, and it’s done great.
If you already have an established, healthy starter, this might work just fine for you too. I always recommend watching for signs your starter is struggling, but if it stays bubbly and rises well, you’re probably on the right track.
3. Watch the Texture
Fresh milled flour absorbs more water, so you may need to slightly increase the hydration in your starter. You’re looking for a thick, spreadable consistency—like pancake batter—not dough.
If it seems too stiff, try adding an extra 5–10 grams of water next time you feed it.
4. Store in the Fridge Between Bakes
I only bake sourdough about once a week—sometimes every other week—so my starter lives in the fridge most of the time. This works beautifully, even with fresh milled flour.
When I’m ready to bake, I take it out, pour off the brownish liquid on top (called “hooch”), and feed it like normal. That liquid is totally normal after refrigeration—just give your starter a good feeding and it’ll bounce back.
If you’re a mom trying to balance sourdough with kids, meals, and daily chaos, the fridge is your best friend. It gives you flexibility without the pressure of daily feeding.
Troubleshooting: What If Something Goes Wrong?
Even if you follow all the steps, sourdough can still throw you curveballs. Here are a few things to look out for:
- Sluggish rise: Try feeding twice a day or giving it a warmer spot.
- Strong, unpleasant smell: It might need a few feedings to reset. Stick with it.
- Mold or discoloration: Toss it and start over—this is very rare with proper storage.
Want a Simple Way to Keep Your Starter on Track?
Inside my free Overwhelmed Mom’s Survival Kit, you’ll find the Sourdough Checklist I use every week to:
- Track feedings
- Know when my starter is ready to bake
- Stay consistent without the stress of guessing
Plus, the kit includes my Daily Rhythm Template and Meal Planning Tools—perfect for fitting sourdough into real-life mom life.
Grab your free kit here →
No pressure, no perfection—just a gentle guide to help you find your rhythm.
Final Thoughts
Transitioning your sourdough starter to 100% fresh milled flour doesn’t have to feel intimidating. Whether you choose a gradual approach or dive in like I did, the most important thing is to watch, adjust, and give it time.
You’re not just feeding flour and water—you’re building something meaningful for your family.
Looking for a beginner sourdough bread recipe? You can find it here!
And once you bake that first loaf with freshly milled flour. You’ll know it was worth every step.
This post is all about fresh milled flour sourdough starter.
Leave a Reply