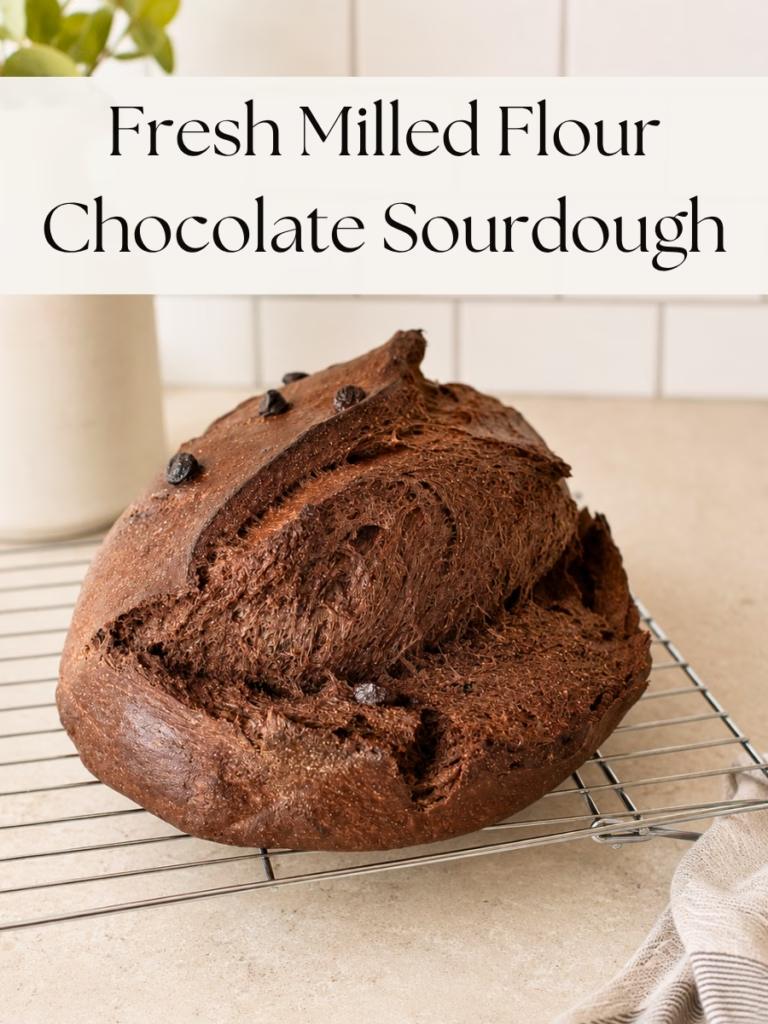
Sourdough Chocolate Bread Recipe with Fresh Milled Flour (Easy Chocolate Boule)
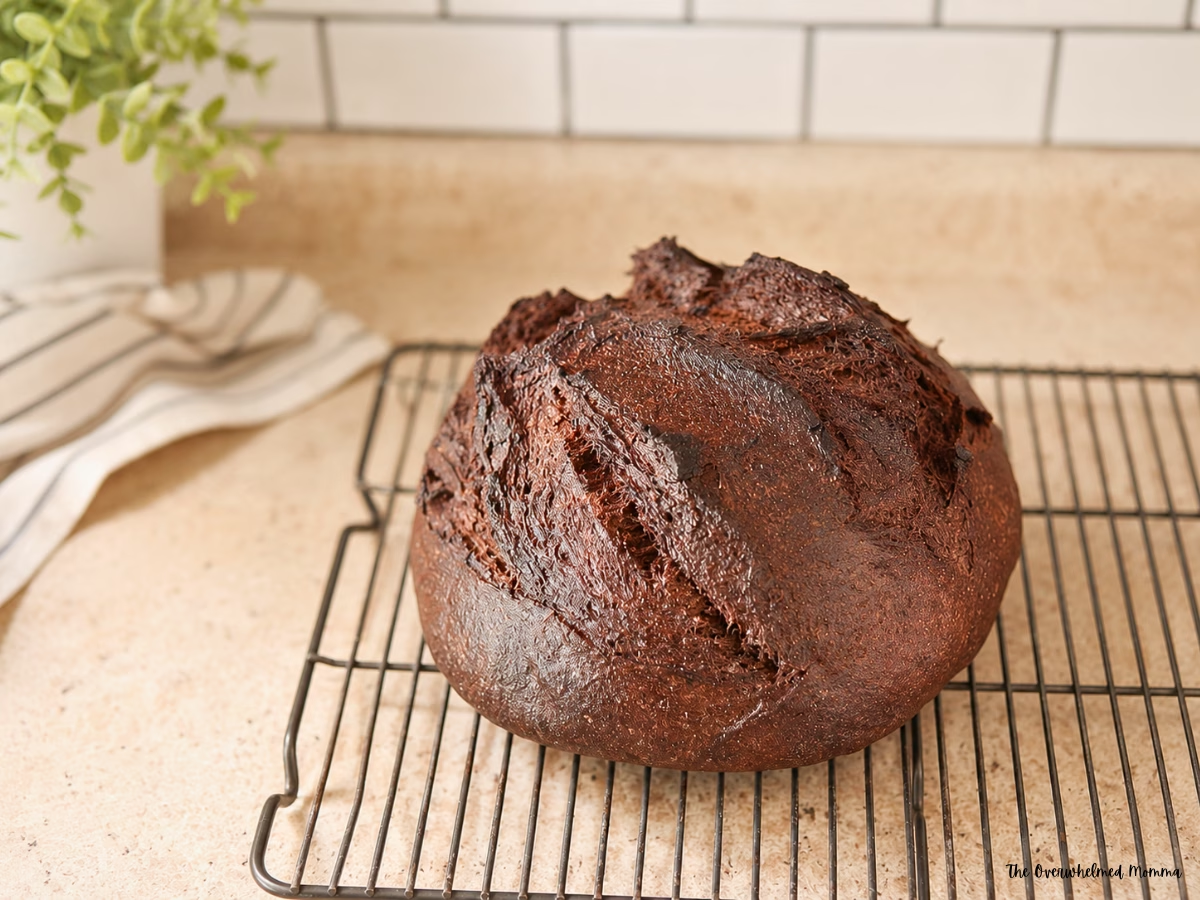
This sourdough chocolate bread recipe combines fresh milled flour, rich Dutch-process cocoa, and ooey gooey chocolate chips into a beautiful artisan loaf that’s surprisingly easy to make. If you’ve wanted to bake chocolate sourdough with fresh milled flour but weren’t sure where to start, this recipe is the perfect first loaf.
Disclosures
Parts of this post were drafted with the help of AI, then reviewed, updated, and edited by me to reflect my personal experience and voice. I always aim to share real-life content that’s helpful, honest, and rooted in my day-to-day life.
This post contains affiliate links. That means I may earn a small commission (at no extra cost to you) if you choose to purchase through my links. I only share products I use and love in my own home.
Why You’ll Love This Chocolate Sourdough Bread
There are a lot of chocolate sourdough recipes online, but this one is a little different.
Instead of using only bread flour, this loaf uses mostly fresh milled flour, giving it incredible flavor while still producing a beautifully tall loaf with a soft, chewy crumb.
It also doesn’t require fancy techniques or complicated terminology.
If you’re a busy mom trying to learn fresh milled flour one recipe at a time, this loaf is a wonderful confidence builder.
You’ll love it because:
✓ Made with 75% fresh milled flour
✓ Bakery-style crust
✓ Soft chewy crumb
✓ Gooey chocolate chips throughout
✓ Rich chocolate flavor
✓ Beginner friendly
✓ Overnight cold proof
✓ Simple techniques
The Chocolate Sourdough That Became “The Monster”
I wasn’t planning on creating one of our family’s favorite sourdough recipes.
I actually made this loaf because I saw a picture online.
It looked absolutely amazing.
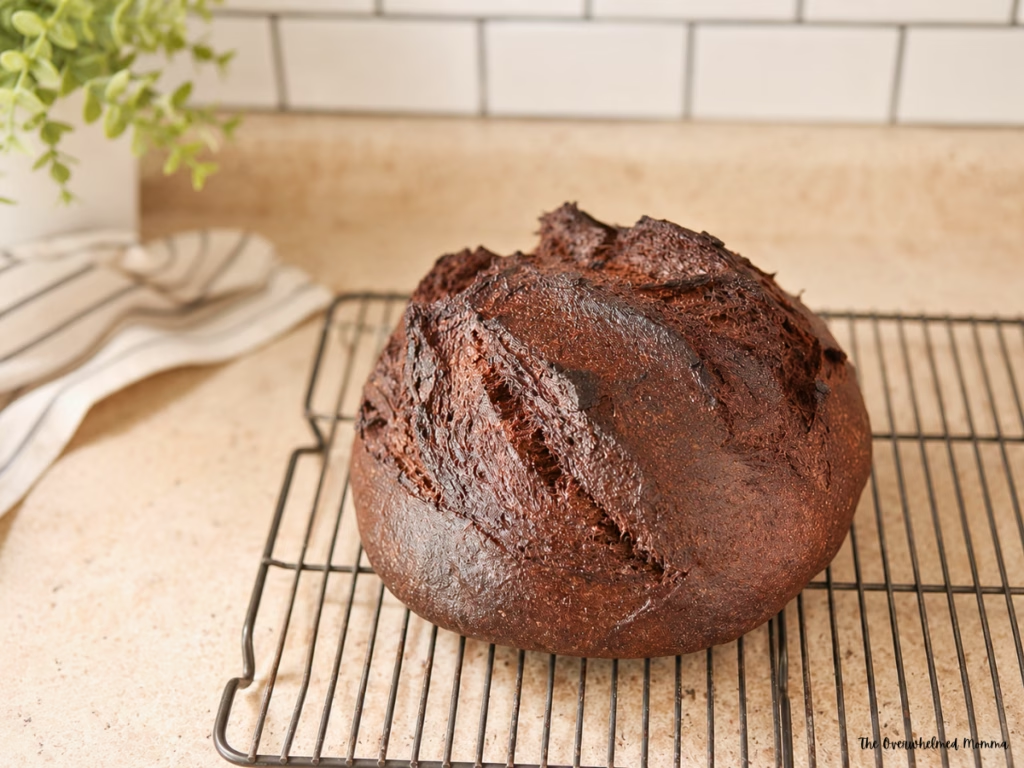
Dark crust.
Big rise.
Chocolate chips peeking out of every slice.
My husband absolutely loves chocolate, and I’m always looking for little ways to make something special for him, so I decided to give it a try.
The only thing I questioned was whether it would actually rise well using fresh milled flour.
I’d struggled before.
Whenever I baked with 100% fresh milled flour, my loaves were always smaller and denser than I wanted.
I mixed everything together anyway, crossed my fingers, and hoped for the best.
Then the next morning I pulled the lid off my Dutch oven.
I just laughed.
“I created a monster.”
That’s honestly what I call these loaves now because they spring so high in the oven.
Even now, every single time I remove that Dutch oven lid, I still get excited.
It’s my favorite part of baking sourdough.
Why I Don’t Bake 100% Fresh Milled Flour Sourdough
This might surprise you.
I don’t bake 100% fresh milled flour sourdough.
At least not very often.
I tried.
I really wanted to.
But my loaves were consistently dense.
They never had the airy crumb I was hoping for.
I decided to try it.
It completely changed my results.
Now my standard sourdough formula is:
- 75% fresh milled flour
- 25% all-purpose flour
That little bit of all-purpose flour gives me the oven spring and open crumb I love while still keeping most of the nutrition and flavor from freshly milled wheat.
If you’ve been struggling with dense fresh milled sourdough, don’t feel like you’ve failed.
Sometimes a tiny adjustment is exactly what gets you baking consistently again.
Around here we’re after from-scratch, not stressed.
Ingredients
Fresh Milled Flour
I mill:
- 75% Hard White Wheat
- 25% Kamut
I love this blend because the hard white keeps the loaf light while the Kamut adds wonderful buttery flavor.
All-Purpose Flour
I use enough to bring my total flour blend to:
- 75% fresh milled
- 25% all-purpose
This combination consistently gives me my best oven spring when baking with sourdough.
Dutch Process Cocoa Powder
Dutch cocoa creates a smoother, richer chocolate flavor than natural cocoa.
Active Sourdough Starter
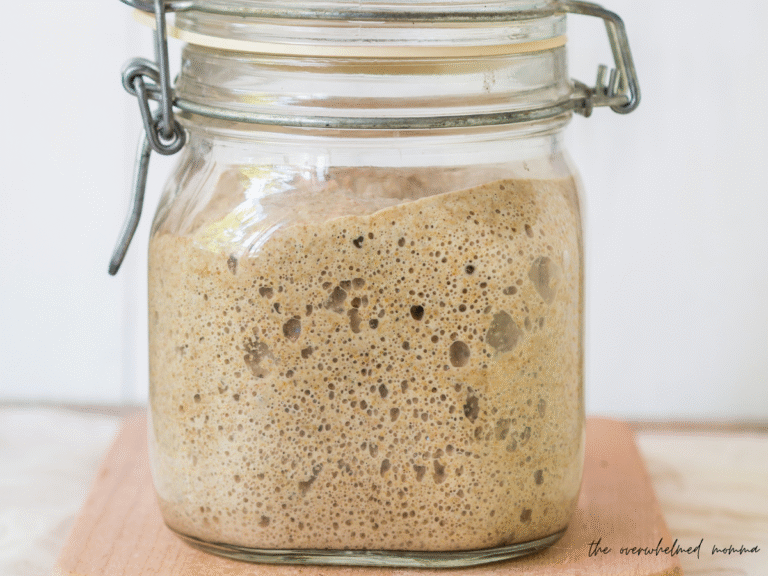
Your starter should be bubbly and active.
Mine doubles before I bake.
Chocolate Chips
Semi-sweet is my favorite.
Dark chocolate would also be delicious.
Why Blooming the Cocoa Matters
Please don’t skip this step.
Blooming cocoa sounds intimidating, but it simply means stirring the cocoa powder into hot water before adding it to the dough.
That’s it.
This wakes up the cocoa and creates a much richer chocolate flavor.
I always try to bloom it right inside my mixing bowl.
Mostly because I hate washing extra dishes.
If I forget and grab a measuring cup instead, I always end up kicking myself later while I’m standing at the sink.
Sometimes baking tips are really just mom tips in disguise.
Equipment You’ll Need

Cambros
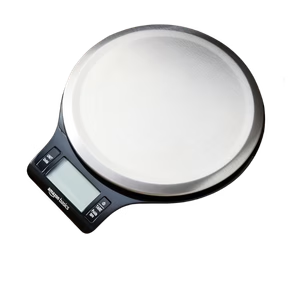
Kitchen Scale
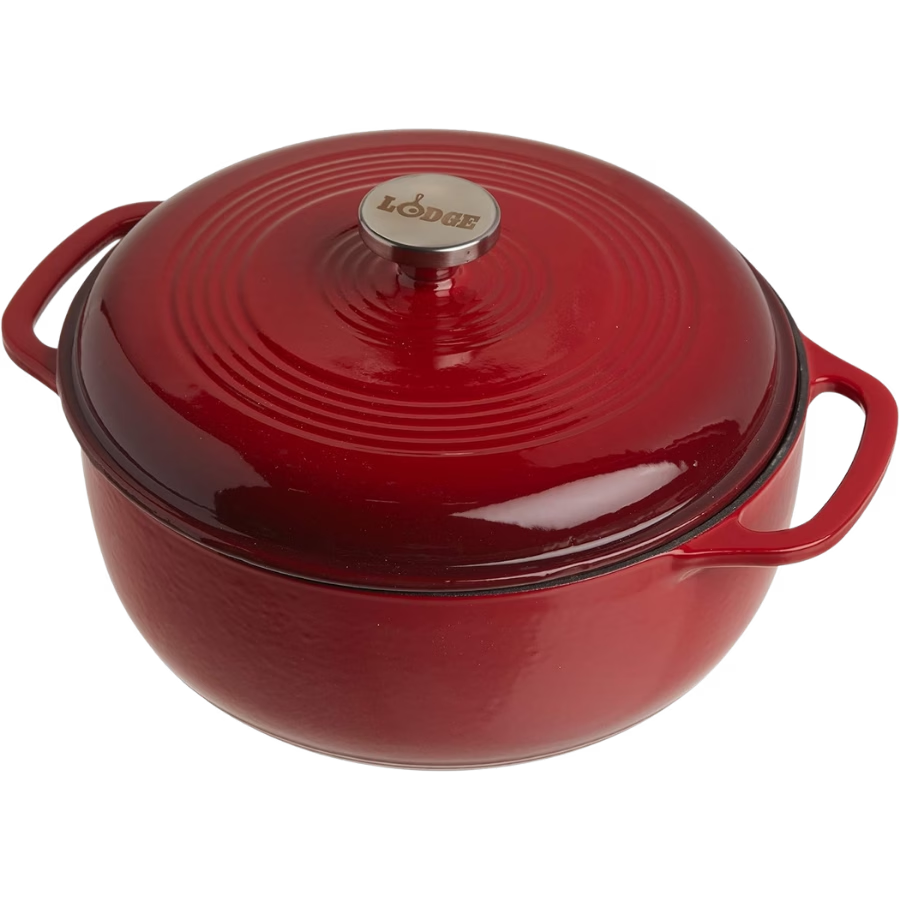
Dutch Oven
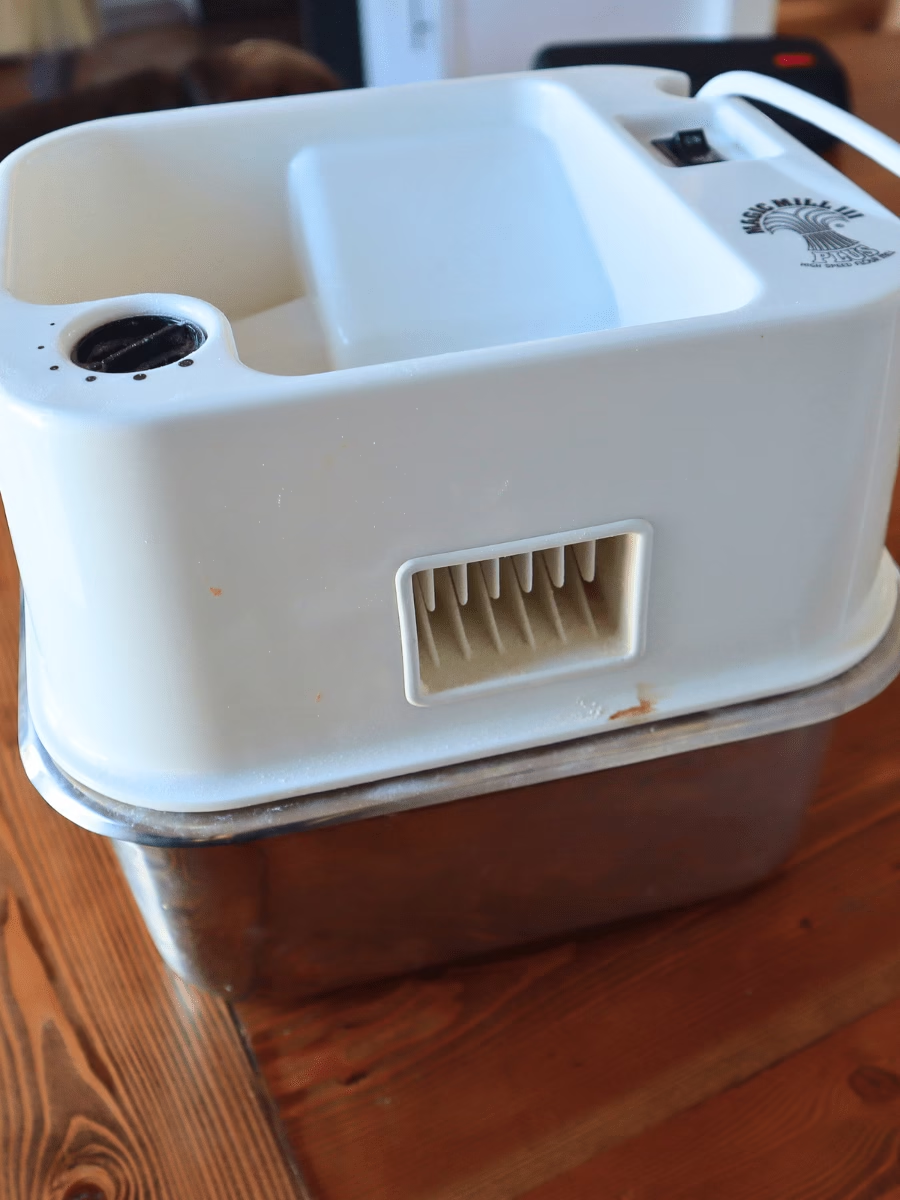
Grain Mill
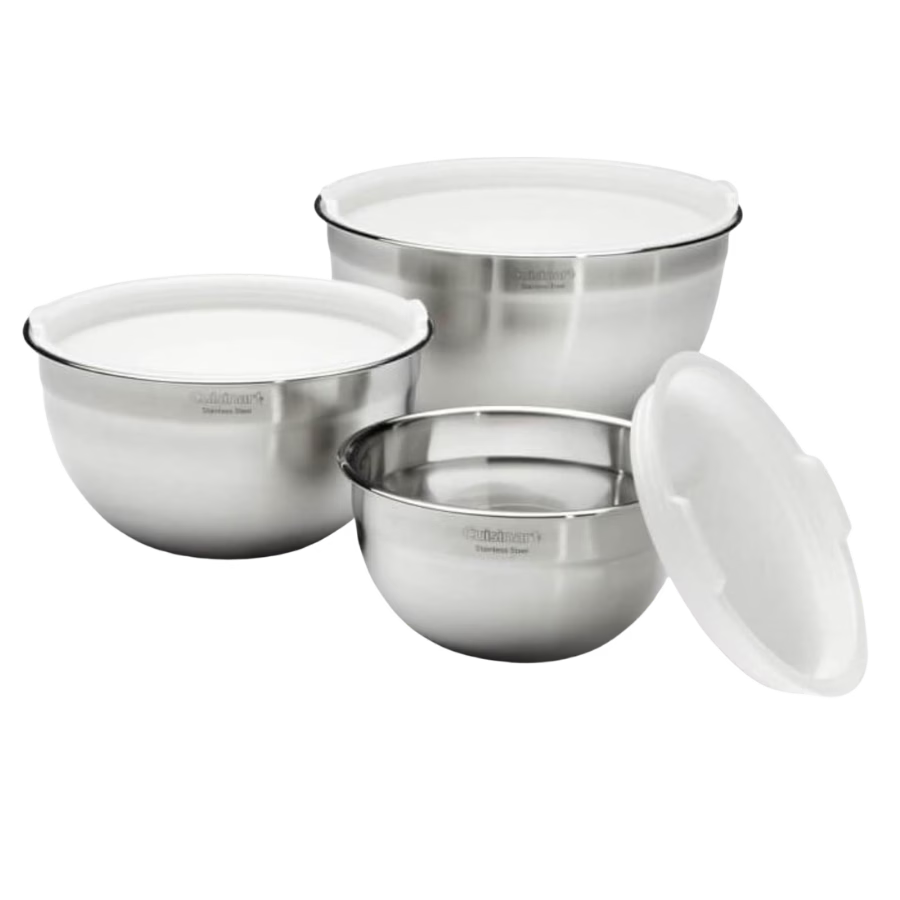
Large Mixing Bowl
Step-by-Step Instructions
Step 1: Bloom the Cocoa
In a large mixing bowl, whisk together the Dutch-process cocoa powder and hot water until the cocoa is completely dissolved and smooth. This is called blooming the cocoa, and it’s one step you don’t want to skip.
Blooming the cocoa allows it to fully hydrate before it’s mixed into the dough, creating a much richer chocolate flavor throughout the finished loaf.
I like to do this right in my mixing bowl because it saves me from washing another measuring cup later. If I forget and bloom it in a separate cup, I always end up kicking myself when it’s time to wash dishes.
Let the cocoa mixture cool until it’s just warm before adding your remaining ingredients.
Step 2: Mix the Dough
Add your active sourdough starter to the bloomed cocoa mixture and stir until it’s mostly dissolved.
Next, add your freshly milled flour, all-purpose flour, sugar, and salt. Mix everything together until no dry flour remains. The dough will look shaggy, sticky, and a little rough at this stage—that’s exactly what you want.
Don’t worry about kneading it smooth. You’re simply bringing all the ingredients together.
If you’re new to fresh milled flour, this is where patience pays off. The freshly milled grains need a little time to absorb the liquid.
Step 3: Let the Dough Rest
Cover the bowl with a damp towel or plastic wrap and let the dough rest for 1 hour.
This rest is one of the most important parts of the recipe.
Fresh milled flour absorbs water more slowly than store-bought flour, and this hour gives the flour time to fully hydrate while the gluten begins developing naturally.
When you come back, you’ll be amazed at how different the dough feels. Instead of being shaggy and sticky, it will already feel smoother and stronger.
If you’re tempted to skip this step because you’re in a hurry, don’t. This simple hour of resting makes the stretch and folds much easier.
Step 4: Stretch and Fold the Dough
With damp hands, grab one side of the dough, gently stretch it upward, and fold it over toward the center.
Turn the bowl a quarter turn and repeat until you’ve worked your way around all four sides of the dough.
The dough may still feel a little sticky, but you’ll notice it beginning to tighten and hold its shape better after each set of folds.
Cover the bowl and let the dough rest for 30 minutes.
Repeat this process every 30 minutes until you’ve completed your scheduled stretch and folds.
Each round helps build strength without kneading.
Step 5: Add the Chocolate Chips
During your third set of stretch and folds, gently sprinkle in the chocolate chips.
I like waiting until the third fold because the dough has already developed enough strength to hold the chocolate chips more easily.
If you add them too early, they’ll constantly fall out while you’re folding the dough and can tear it a little.
If the dough does tear, don’t panic.
Simply keep folding gently and smooth the dough back together. I just make sure all of the chocolate chips end up tucked inside the dough instead of sitting in the bottom of the bowl.
Perfection definitely isn’t required here.
Step 6: Bulk Fermentation
After your final stretch and fold, cover the bowl and allow the dough to continue fermenting until it has increased in size and feels light and airy.
The exact amount of time will depend on the temperature of your kitchen.
Instead of watching the clock, watch your dough.
You’re looking for:
- A noticeable increase in volume
- Small bubbles forming around the edges
- A smoother surface
- Dough that jiggles slightly when you gently shake the bowl
Because the cocoa darkens the dough, it can be a little harder to judge than regular sourdough. Don’t stress if it isn’t perfectly doubled. Once it looks puffy and airy, you’re ready for the next step.
I actually got some cambros that have measurements on the side so I can see if it has doubled or not easier. I can quickly glance at them instead of hemming and hawing over the bowl wondering if they had doubled or not.
Step 7: Shape the Dough
Turn the dough out onto a lightly floured work surface.
Using your bench scraper, gently shape it into a loose round and let it rest for about 15–20 minutes.
This short bench rest helps the gluten relax before the final shaping.
After resting, shape the dough into a tight boule by gently pulling the surface toward the bottom while rotating the loaf.
Try not to press out all those lovely air bubbles you’ve worked so hard to create.
The dough should feel soft, smooth, and slightly bouncy.
Step 8: Cold Proof Overnight
Place the shaped dough seam-side up into a well-floured banneton or bowl lined with a floured tea towel.
Cover it and refrigerate overnight, or for 12–16 hours.
This slow fermentation develops incredible flavor while also making the dough much easier to score the next day.
One of my favorite things about sourdough is that the refrigerator does the work while I sleep.
Step 9: Preheat the Dutch Oven
The next morning, place your Dutch oven into the oven and preheat it to 450°F (232°C) for at least 30–45 minutes.
A thoroughly preheated Dutch oven creates the burst of steam needed for beautiful oven spring.
Don’t rush this step.
That hot Dutch oven is one of the secrets to creating those big, beautiful loaves.
Step 10: Score the Dough
Turn your cold dough onto a piece of parchment paper.
Using a sharp bread lame or razor blade, make one confident slash across the top of the loaf.
Don’t worry if your scoring isn’t perfect.
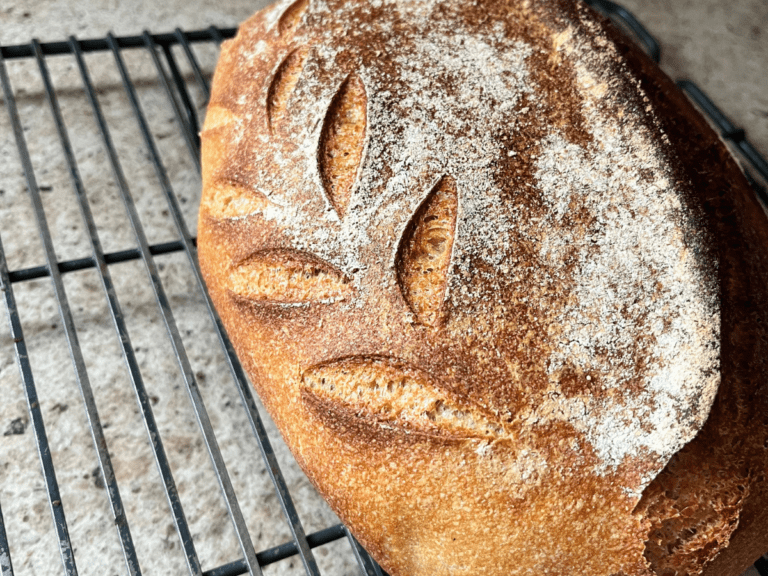
Mine almost always bursts through the score while baking.
Honestly?
I kind of love it.
Every time I pull the lid off my Dutch oven and see that huge oven spring, I laugh and tell my family,
“I created another monster!”
Step 11: Bake
Carefully lower the dough into the hot Dutch oven.
Cover with the lid and bake according to the times in your recipe card.
After removing the lid, continue baking until the crust is a deep chocolate brown and beautifully crisp.
Your kitchen is going to smell absolutely heavenly—like someone just baked a pan of warm brownies.
It’s one of my favorite smells.
Step 12: Let It Cool (The Hardest Part!)
As tempting as it is to slice into your loaf right away, let it cool completely on a wire rack.
Fresh bread continues cooking as it cools, and cutting into it too early can leave the crumb gummy.
I know it’s hard to wait.
The smell alone makes me want to grab the bread knife immediately.
But trust me—it’s worth it.
When you finally slice into it, you’ll find a crisp crust, a soft chewy interior, and little pockets of melted chocolate throughout.
My favorite way to enjoy it is toasted with a little butter and fresh sliced strawberries.
Chocolate and strawberries are one of those combinations I’ll never get tired of.
Posts You May Like:
Sourdough Chocolate Bread Recipe with Fresh Milled Flour (Easy Chocolate Boule)
This sourdough chocolate bread recipe combines fresh milled flour, rich Dutch-process cocoa, and ooey gooey…

Easy Homemade Sausage McGriddle Recipe (Better Than McDonald’s)
If your kids are anything like mine, breakfast for dinner is always a hit. Pancakes…
Soft Fresh Milled Flour Cinnamon Rolls
The Best Fresh Milled Flour Cinnamon Rolls Recipe for Soft, Fluffy Rolls Every Time These…
What the Dough Should Feel Like
One thing I wish someone had told me when I first started baking sourdough is that dough changes as it rests.
Right after mixing, this dough feels sticky.
Don’t panic.
That one-hour rest makes all the difference.
The fresh milled flour has time to absorb the water, and the gluten begins developing before you ever touch it again.
By the time you start your stretch and folds, the dough already feels stronger.
Stretch and Fold Tips
I add the chocolate chips during the third stretch and fold.
Why?
Because it makes the process so much easier.
If you add them too early, they constantly fall out and can tear the dough while you’re trying to build strength.
If the dough tears a little, don’t worry.
Simply keep folding gently and smooth the dough back together.
It doesn’t have to be perfect.
Troubleshooting
My Dough Feels Sticky
That’s completely normal.
Give it the full hour to rest before worrying.
Fresh milled flour needs time to absorb water.
My Loaf Spread Instead of Rising
Your starter may not have been active enough.
Or your dough may have over-proofed.
My Bread Burst Through the Score
Mine does too.
Honestly?
I kind of love it.
Usually that means the oven spring was fantastic.
My Bread Isn’t Sweet Enough
Remember:
This is still bread.
It tastes like chocolate.
Not chocolate cake.
Think rich chocolate graham cracker.
Storage
Store covered on the counter for 2–3 days.
Toast leftovers for the best texture.
Can You Freeze Chocolate Sourdough?
Absolutely.
I actually recommend slicing the loaf first.
Place parchment between slices before freezing.
That way you can pull out one slice whenever you want breakfast.
My Favorite Ways to Eat Chocolate Sourdough
This bread is delicious all by itself, but here are some of our favorite ways to enjoy it.
- Butter
- Cream cheese
- Peanut butter
- Strawberries
- Bananas
- Raspberry jam
- Honey butter
My favorite?
Toast it.
Spread on butter.
Top with fresh strawberries.
Chocolate and strawberries are one of those combinations I’ll never get tired of.
Frequently Asked Questions
Can I make this with 100% fresh milled flour?
Yes, but I personally get a much taller, fluffier loaf using a 75/25 blend.
Is chocolate sourdough sweet?
Only slightly.
It’s more like a chocolate graham cracker than a brownie.
Does it taste like coffee?
No.
I actually leave the espresso out completely and simply bloom my cocoa with hot water.
I don’t drink coffee, and the bread still has a wonderfully rich chocolate flavor.
Can I use milk chocolate chips?
Yes.
Semi-sweet gives a more balanced flavor, but milk chocolate works if you prefer a sweeter loaf.
What to Serve with Chocolate Sourdough
This section is great for both readers and SEO because it naturally answers another common question.
Some favorite pairings include:
- Fresh strawberries
- Sliced bananas
- Whipped cream cheese
- Honey butter
- Raspberry preserves
- Vanilla Greek yogurt
- Fresh blueberries
- A drizzle of peanut butter
New to Fresh Milled Flour?
Friend, if you’ve been curious about baking with fresh milled flour but weren’t sure where to start, you’re exactly who I created my Fresh Milled Flour Jumpstart Guide for.
You don’t need to learn everything today.
You don’t need to bake every loaf perfectly.
You just need one small win.
Inside the guide, I’ll help you understand the basics, choose the right wheat berries, avoid common beginner mistakes, and share some of my favorite recipes to help you build confidence one loaf at a time.
If this chocolate sourdough recipe showed you that fresh milled flour doesn’t have to be intimidating, I’d love to help you keep going.
Grab your FREE Fresh Milled Flour Jumpstart Guide below and let’s make baking with fresh milled flour feel simple.
Easy Chocolate Sourdough Bread with Fresh Milled Flour
Ingredients
- 50 g Dutch-process cocoa powder
- 100 g hot water
- 150 g active sourdough starter
- 350 g room temperature water
- 50 – 60 g brown sugar
- 10 g sea salt
- 13 g vanilla extract
- 375 g freshly milled hard white wheat flour
- 125 g all-purpose flour
- 130 g semi-sweet chocolate chips
Instructions
Bloom the Cocoa
- In a large mixing bowl, whisk together the cocoa powder and the 100 g of hot water until smooth. Let cool for 1–2 minutes.
Mix the Dough
- Add the sourdough starter, room temperature water, brown sugar, sea salt, and vanilla. Whisk until combined.
- Add the freshly milled hard white wheat flour and all-purpose flour. Mix until no dry flour remains.
Rest the Dough
- Cover and let the dough rest for 1 hour.
- The dough will be sticky because of the sugar. This rest allows the fresh milled flour to absorb the water and begins gluten development.
Stretch and Folds
- Perform 4 sets of stretch and folds, spacing each set about 30–45 minutes apart.
Add Chocolate Chips
- During the third stretch and fold, gently work the chocolate chips into the dough.
- Continue folding gently until the chocolate chips are evenly distributed.
Bulk Fermentation
- Transfer the dough to a lightly oiled Cambro container.
- Allow the dough to bulk ferment until it has roughly doubled in size.
- Using a clear Cambro container makes it much easier to see when the dough has finished fermenting.
Shape
- Turn the dough onto a lightly floured work surface.
- Shape into a tight boule.
- Place seam-side up into a floured banneton.
Cold Proof
- Cover and refrigerate overnight.
Bake
- Preheat your Dutch oven to 450°F.
- Turn the dough onto parchment paper and score.
Bake:
- 25 minutes with the lid on at 450°F
- Lower oven temperature to 400°F
- Bake 30 minutes uncovered
Cool
- Allow the loaf to cool completely before slicing.
Notes
- Blooming the cocoa brings out a much richer chocolate flavor—don’t skip this step.
- The dough will feel stickier than a traditional sourdough because of the brown sugar.
- I recommend using a Cambro container during bulk fermentation so you can easily see when the dough has doubled.
- Don’t worry if your loaf bursts through the score while baking. Mine almost always does, and it’s usually a sign of great oven spring!
- Semi-sweet chocolate chips are my favorite, but dark chocolate chips are delicious too.